Regular oil changes are one of the most important maintenance tasks for keeping your car's engine running smoothly. As a beginner, understanding the process of changing oil can seem daunting. In this step-by-step guide, we will walk you through the process of performing an oil change, equipping you with the knowledge and confidence to tackle this essential task.
Step 1: Gather the Necessary Tools and Materials
Before starting, gather the tools and materials you'll need for the oil change. These typically include a socket wrench, oil filter wrench, oil drain pan, funnel, new oil filter, new oil, gloves, and safety goggles.
Step 2: Prepare Your Vehicle
Park your car on a level surface and engage the parking brake. Pop the hood and locate the oil dipstick and oil drain plug underneath the engine.
Step 3: Drain the Old Oil
Position the oil drain pan beneath the oil drain plug. Use the socket wrench to loosen the drain plug and carefully remove it. Allow the old oil to drain completely into the pan. Once drained, replace the drain plug and tighten it securely.
Step 4: Replace the Oil Filter
Locate the oil filter, which is typically on the side or bottom of the engine. Use the oil filter wrench to loosen and remove the old filter. Before installing the new filter, apply a thin layer of clean oil to the rubber gasket. Screw on the new filter by hand until it is snug, then give it a final turn with the filter wrench.
Step 5: Add New Oil
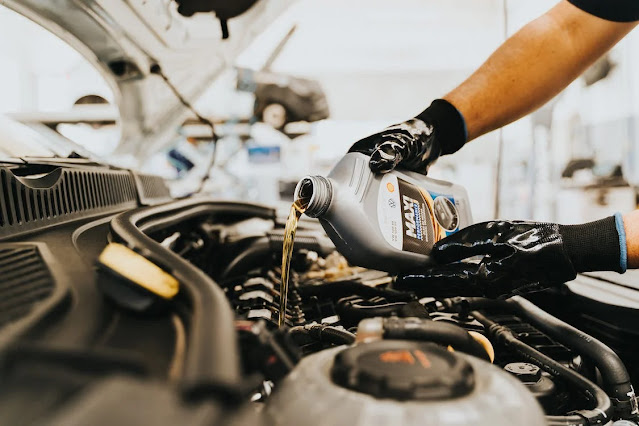
Locate the oil filler cap on top of the engine. Remove it and place a funnel securely in the opening. Pour the appropriate amount and type of new oil into the engine, as specified in your vehicle's owner manual. Once filled, replace the oil filler cap.
Step 6: Check the Oil Level
Using the oil dipstick, check the oil level to ensure it falls within the recommended range. If needed, add more oil until it reaches the appropriate level.
Step 7: Properly Dispose of the Old Oil
Carefully transfer the used oil from the drain pan into a sealed container. Many auto parts stores and service centers accept used oil for recycling. Never dispose of used oil in the trash or pour it down the drain.
Step 8: Record the Oil Change
Keep a record of the oil change, including the date, mileage, and type of oil used. This will help you track your vehicle's maintenance history and know when the next oil change is due.
Conclusion:
Congratulations! You've successfully completed an oil change for your vehicle. By following this step-by-step guide, you've learned the essential process of changing oil. Regular oil changes will help maintain engine performance, extend the lifespan of your car, and prevent costly repairs. Remember to consult your vehicle's owner manual for specific instructions and recommended oil change intervals. With practice, you'll become more proficient and confident in performing this vital maintenance task.

